Effects of longer lower arms:
- More track, pushes wheel out further in guard. Keep in mind negative camber will increase and so guard clearance
won't reduce as much as you extend the wheel. We've done up to 50mm longer lower arms. Actual required amount
depends on your setup.
- More cambler, roughly 1 degree per 10mm on an AE86 I believe. This can be especially useful when running GX71 or
AA63 struts in a Corolla/AE86 without Revolver Negative Camber Adjusters.
- Potential for more steering lock. With the pivot point for the wheels further out, you're less likely to hit the
inner guard on full lock.
I bought a prototype kit from Nite Parts & Performance - there are a lot of different companies offering these now.
Most kits should include:
- Rose-joints - make sure these are very high quality if buying them from a shop. Cheap ones will wear out and go
sloppy!
- Locking nut
- 4 spacers, 2 per side to go betwen rose joint and crossmember. Ensure these are not too big and the rose joint
is not rubbing on them.
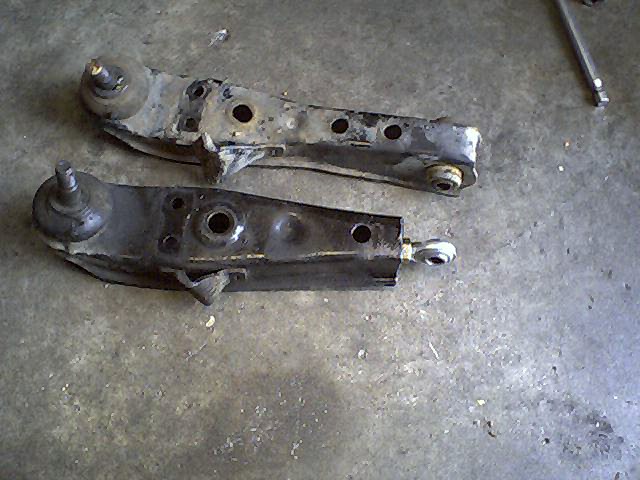
- The modified lower arm.

-------------------------------------------------------------
Parts Required:
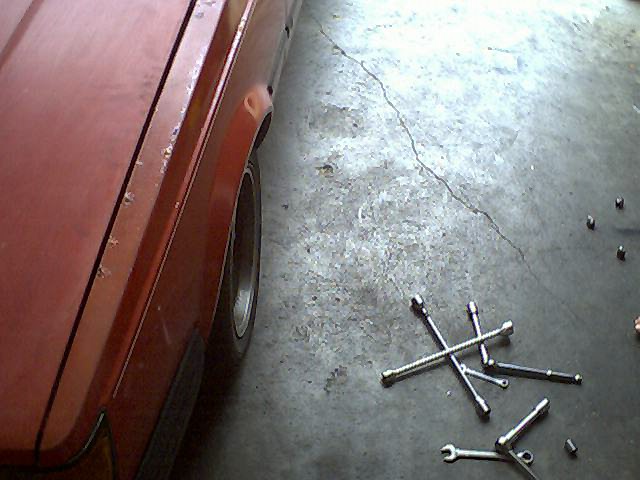
12,14,17,19,21mm(or tire iron), Socket.
Ratchet or Power bar, some sort of drive.
Pliers.
Hammer.
10,14,17,19mm Spanners
2hrs time. more or less depending on proficiency, I can do both
in 1hrs now.
Trolley Jack, Axle Stand, Scissor Jack, yes all three (or 2 scissors).
Nite Parts Adjustable Control Arm Kit.
-------------------------------------------------------------

Fitting:
- Undo wheel nuts a bit
- Jack the car up, under the castor rod mounts (chassis end) is fine.
- Put an Axle Stand Under the crossmember. Take off wheel.
- Undo the 2 bolts holding the strut to the steering arm (comes from the ground up), 17mm socket with medium
extension.
- Lift the strut off the steering arm, stand on the castor rod if need be to push the control arm down.
- Remove the split pin from the king nut on the steering arm, on the main balljoint, remove 21mm nut.
- Hit the steering arm from below, tapping it off the control arm balljoint (main balljoint).
- Undo the castor rod, 2 14mm bolts, use 14mm socket, medium extension, nuts under the control arm.
- Undo the swaybar link, 12mm socket under the control arm, 10mm ring spanner just above bush sitting ontop
control arm.
- Undo the Control Arm bolt, 17mm socket one side, 17mm ring spanner the other side.
***** You can now compare your arm to the Nite Parts arm, notice the bush in the stock arm?.. This is no
longer there, so naturally steering feel and shocks are going to be much increased :D... Pretty hardout so
far... continue on ***
- Here you need to enlarge the hole in the chassis slightly, as the rosejoint and bolt supplied are 1/2",
which is slightly bigger then the 12mm bolt that was in there. It isn't much, so just use a file.
- Now you can decide what setting you want to start off on, wind the rosejoint all the way out :P
- Hold up the Nite Parts arm in position (now reffered to as control arm), and re-attach castor rod (14mm
socket).
- Reattach the sway bar link, 12mm socket below, 10mm above bush.
- Sit the steering arm back on the control arm balljoint, and fit the king nut back on, 21mm socket, Fit
splitpin.
- Now, if you've got 2 scissor jacks here it's easy. Put one pushing from the chassis out towards the strut,
which will push out the strut. As you'll notice that the rose joint is pretty far away from lining up. You can
just have a friend pull the wheel out, but this way is easier and means whole job can be done by 1 person.
- Put the 2nd scissor jack or trolley jack under the chassis end of the control arm. As you'll notice that the
arm sits a little low. This will lift it up.
- Squash in the spacers on either side of the rosejoint. You'll be able to get one in easy, then the other
you'll have to tap in with a hammer. Wind the scissor jacks out if necessary.
- Put the supplied bolt through the hole, tighten with a 19mm socket and ring spanner on each end. Remove
jacks.
**** Now... your arm is in and looking magnificent :P.... But you've now got massive tow out... so we need to
adjust this now. ****
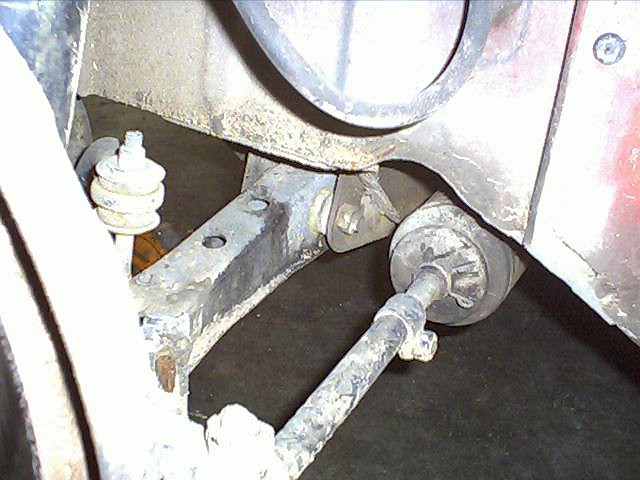
- Make sure the steering wheel is straight, then undo the clamp around the tie rod, 14mm socket and 14mm
spanner here.
- Now, this tie rod could be really stiff, and so try using your open end 14mm on it, however, if it doesn't
turn easy and you start to round it off, just put some vice grips on it, and work it backwards and forwards a
bit to get it moving. You'll need to wind out this arm by about 1" or 3cm or so... Just have to use your eye
here.
- Wind the 'locking' nut on the rosejoint up so it is tight against the control arm.
- Jack the car down, and have a look at the wheel, see if it's pointing straight ahead. Re-adjust if not.
- Repeat procedure for the other side.
----------------------------------------------------------
And there you have it..... Adjustable Control Arms!!!..
A couple of things with this is that your track really increases a lot, and camber was increased by about 1.5
degrees -> 3ish. Depending on where the control arm was cut in the first place, you could use this to remove
or add track, depending on whether you're running those 10JJ wheels.
You will need to get a wheel alignment afterwards, unless you're pretty good with a tape measure and some
string to get the toe right.

Toe out effect created after fitting. Disregard rubbish wheel and big guard clearance.
If you try and fit the rosejoint in before bolting back the castor rods and swaybar bushes you'll notice you
won't be able to bend them out, so just do it in the order above. If you want to make adjustments to it, you
simply have to undo the big 19mm bolt, and knock out the spacers, then spin the rose joint around and refit.
© 2021 Garage Dori. All rights reserved.


